I saw this adorable mummy pillow in the latest Pottery Barn catalog and thought, I could make that! Although Pottery Barn does have much better photographers, my pillow above looks just like theirs below and didn't cost me the $32.50 that the Pottery Barn one would! And it's so easy to make too!
I found some extra white cotton fabric I had laying around. After measuring, I decided to make it 14 inches square before sewing.
I took my fabric and folded it in half and quickly pinned it so the fabric didn't move while I cut. I measured and marked my lines at the top and cut.
Then I simply cut the fold to make 2 separate squares.
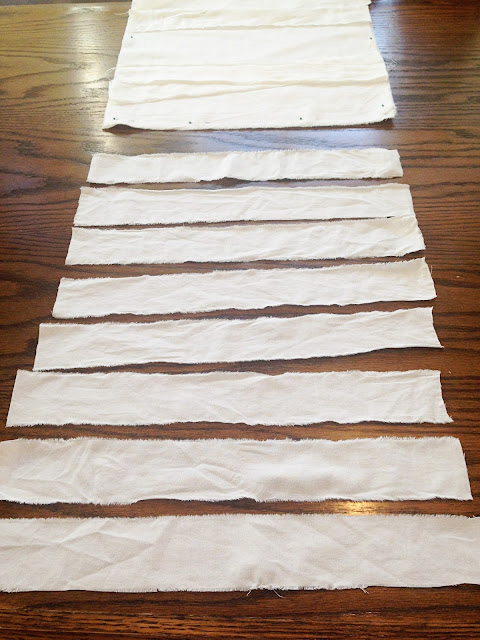
Then I took my left over material and ripped 1.5 inch strips. To get the right look for the mummy, they need to be ripped. I used my first strip to measure the rest. I cut a small snip in the fabric and then ripped them apart. My girls actually loved helping me with this part!
I had about 10 strips that I cut just a tad longer than my pillow squares. I also went through each strip and made sure they looked ratty. I pulled more strings off and really made the edges raw.
After my strips were ready, I started laying them out on ONE of the white squares. Make sure you leave room for the eyes.
Then I pinned the second white square on top of the square with all the strips. And very carefully pinned the whole way around. I used a lot of pins so the strips wouldn't move around. *NOTE: your mummy design is in the inside. Once you turn it right side out, it will be correct!
After everything is pinned, I sewed the whole way around the pillow leaving a 3 inch gap so I could turn it right side and stuff the pillow. I also left a 1/2 inch seam allowance to make sure all my strips were under my stitch and to make my pillow a nice 13 inch square pillow!
After sewing, I cut the corners off each corner. This helps make the pillow corners nice and pointy. And then I also trimmed the extra fabric off the make it looked clean and so the pillow wasn't bunchy when I turned it.
All cleaned up and ready to be turned right-side out!
Next I used some black felt and more of my white fabric to cut out 3 circles. I then quickly hand sewed the small black circle to the other 2 circles and then sewed the group of circles to the pillow with a quick stitch around the black part of the eyes.
Then I stuffed him and hand sewed the hole on the bottom.
It was a super easy craft that my girls really enjoyed helping me with! And since I had all the materials on hand, my little mummy pillow was free which is awesome compared to the $32.50 price tag the Pottery Barn pillow has!!


No comments:
Post a Comment